
January 2017 KALFH #1: Welter Hat
Here we go - our first installment of KALFH. I hope I'm not writing to no one. Hopefully SOMEONE will read this!
Marco!
Marco?!
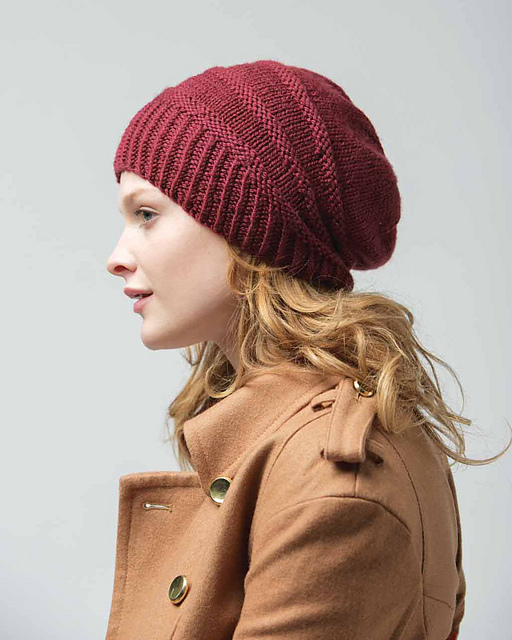
Anyway, here we go. This first week is the Welter Hat by Jennifer Dassau. This project features the standard Wrap and Turn (W&T) short row. Here's a great video tutorial for those of you who like a video visual in addition to the awesome photo tutorials provided in Jennifer's book:
http://tinyurl.com/hmkp775
For homework I assigned my students to knit the brim before class so we were ready to dive into the short rows right away. And here are the notes, tips and tricks I shared with them for the class:
W&T – wrap and turn – in 5 easy steps: slip, move, slip, move, turn!
- Slip the stitch purlwise from LH to RH needle
- Move the working yarn into the opposite position
- If knitting, move working yarn from back to front
- If purling, move working yarn from front to back
- Slip the stitch purlwise from RH to LH needle
- Move the working yarn to its original position
- If knitting, move working yarn from front to back
- If purling, move working yarn from back to front
- Turn the project to work in the opposite direction you were just working
To identify a wrapped stitch, look for 2 things:
A collar around a stitch
A gap between stitches
Pattern Alternatives
Please note that these adjustments are not a criticism to the original pattern nor does it suggest that the pattern is wrong. It is not. I simply prefer an even number of rows over my welts, whereas the pattern, as written, is short partial rows.
Brim
- Next Row (RS, following the final W&T repeat): Work in pattern to end. <-- my change
- Next Rnd: Purl (do not pick up wraps – no need). <-- my change
- Inc Rnd: Work as written in pattern.
- Next Rnd: Purl. <-- my change
Welt
- Next Row (RS, following the final W&T repeat): knit to end of round, picking up and knitting the wrap with the stitch. <-- my change
- Next Rnd: Work as written, processing the wrapped purl sts as encountered. <-- my change.
Blocking
This project is a fitted slouch, not a loose slouch. I highly recommend one of the following:
- Steam blocking: http://tinyurl.com/j9ky75a
- Wet blocking around a balloon blown up to about an 19” circumference.
- Wet blocking flat – do NOT block around a plate. It will make the hat too large and sloppy.
And that'll about do us for the first installment of KALFH. I hope you enjoyed the pattern and found the notes helpful. C'mon back next week when we worked on the Tilting Lines Cowl. It's GOR-JUS!!!
Keep in touch!
If you're on social media, feel free to tag #unapologeticknitter (or use @notsorryknitter on IG) so I can see your amazing creations! I can't wait to KALFH with you!